
Welcome back to my 4th grade Radial Symmetry design tutorial. This week we will outline and color to our pencil design. I know that a lot of your only have basic materials at home with you during this time of homeschooling. DO NOT STRESS! You can use any or all of the following materials to give your art piece eye-catching details. So take a deep breath and let's jump in.
Materials:
Crayons
Markers
Colored Pencils
Sharpies
Watercolors
Step 1: Outline

There are a few different ways that you can do the outline. I chose to outline with a fine point Sharpie marker. The Sharpie clearly defines the open areas where I will be adding color and pattern to make the design come to life.
Another option would be to outline with a black crayon. If you like doing Crayon Resist with watercolors, outlining with a black crayon would be a nice choice. Be sure to use firm pressure while outlining. This will apply enough wax from the crayon to resist the watercolors and keep areas separated.

Step 2: Step back from the basic design. Are you happy with the look? Does it look too simple? What could be added? As you are mulling these questions, I would suggest using a pencil to add any new touches, just in case they turn out to be something you would rather not keep in the design.
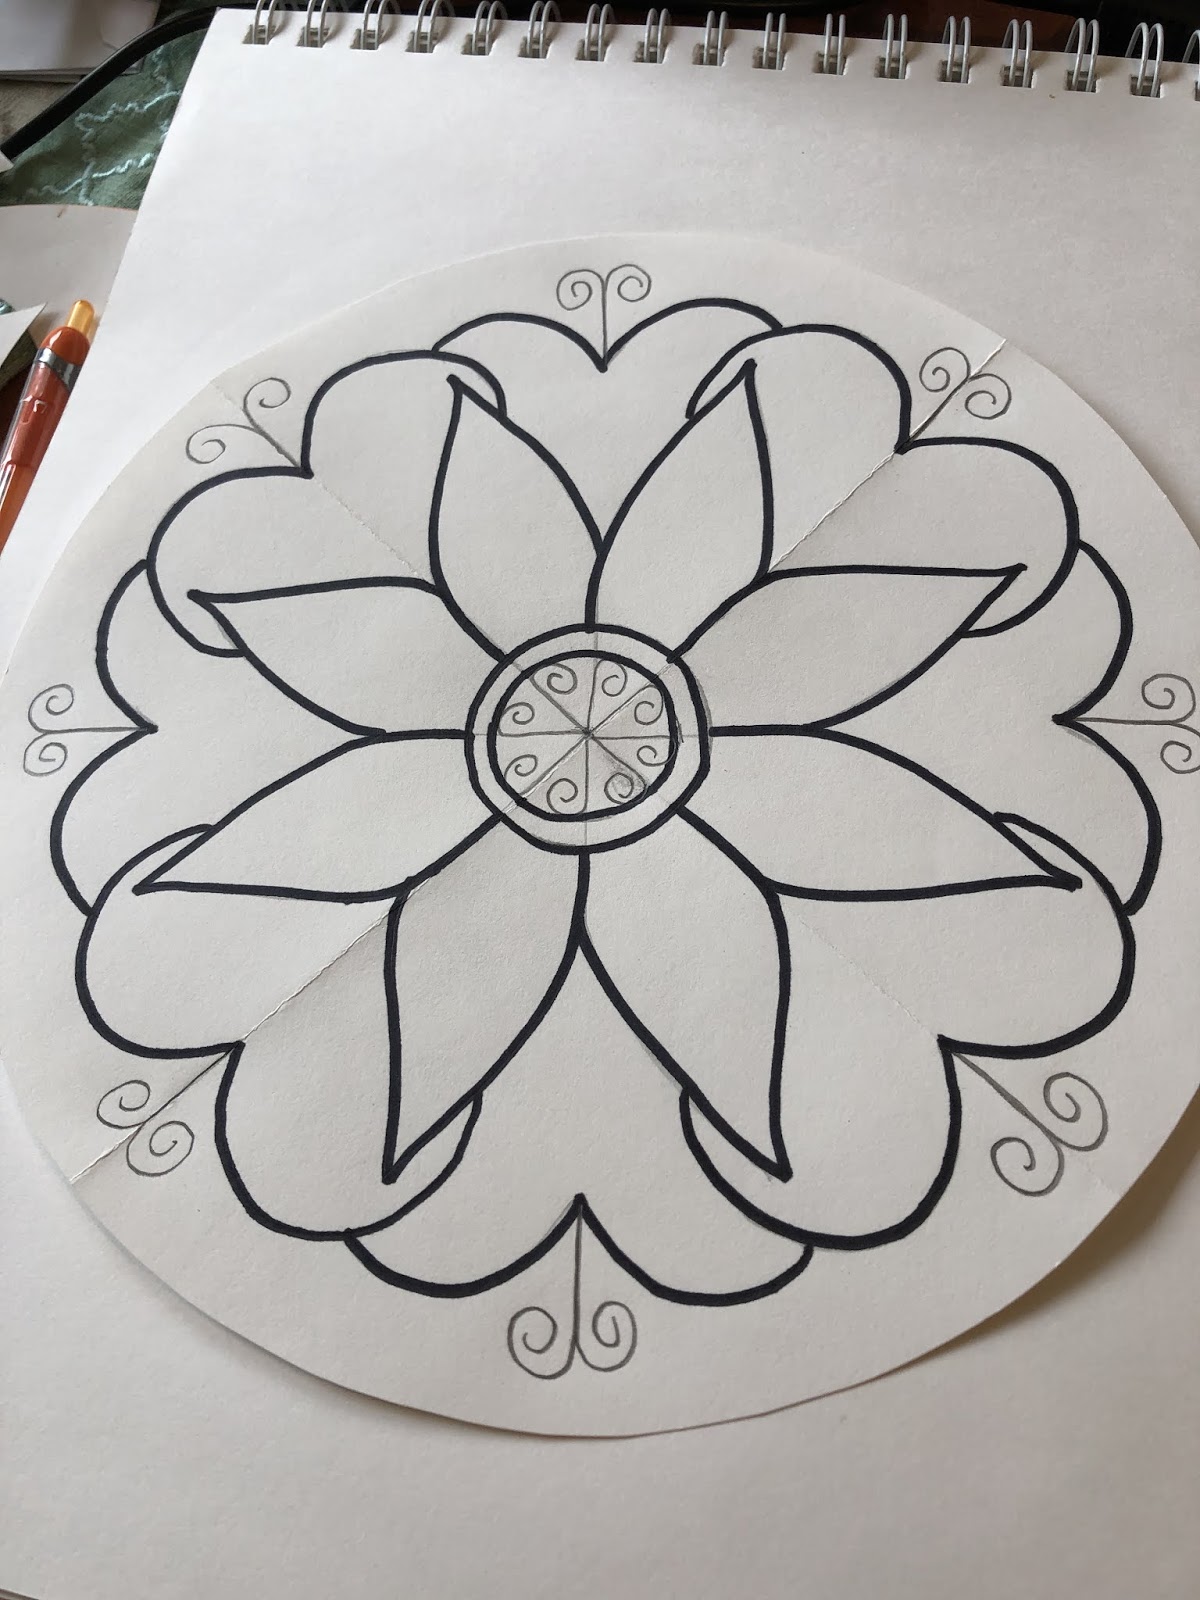
I think it may need a little more of...something

I think that is enough for now! Time to finish the outlining.

To complete the outlining, I used a little of this and little of that. The curly bits needed the touch of an ultrafine Sharpie. Using a thicker Sharpie or a crayon would destroy the delicate nature of the curls. For the spots and butterfly-like lines, I used a black crayon (see close-up above).
Step 3: Color and pattern
The sky is the limit on this part. Remember the radial symmetry. If a color is applied in one part of the radius, then be sure to apply the color to the matching bits. With the same thought in mind, if you apply a pattern to one area, be sure to match it in the others.

I started with crayon, coloring a section then stepping back to take a look. The petals began as a curved Fuschia line in each section, then changed to the Fuschia outline with hot pink in the center. Next dots,

then lines and a few solid areas, still using the crayons.

Another step back made me realize that it needed a little more balance between the center and the stripes on the outside, so I added the hot pink to the outside. Now for some paint!

I used watercolors. What I find fascinating about watercolors is how you can change the saturation of color by "repainting" using only water on the brush! So cool. It softens areas where the color was a little too dark and deepens color in other areas.

A touch of pinky-orange on top of the hot pink crayon filled in areas the crayon missed and softened the overall look of the petals.

Purple on top of purple crayon pretty much covered up the spots! Easy peasy, lemon squeezy...paint over it with only water on the brush and then dab with a paper towel. Viola!! The spots pop out.

Final touches, then paint the background and it is finished.

I can hardly wait to see your finished Radial Designs! I know they will all be stunning.
NOTE for my 4th graders: Don't forget to post your completed project to your Google Classroom assignment page for a grade!







 kindergarten Dr Suess chalkboard
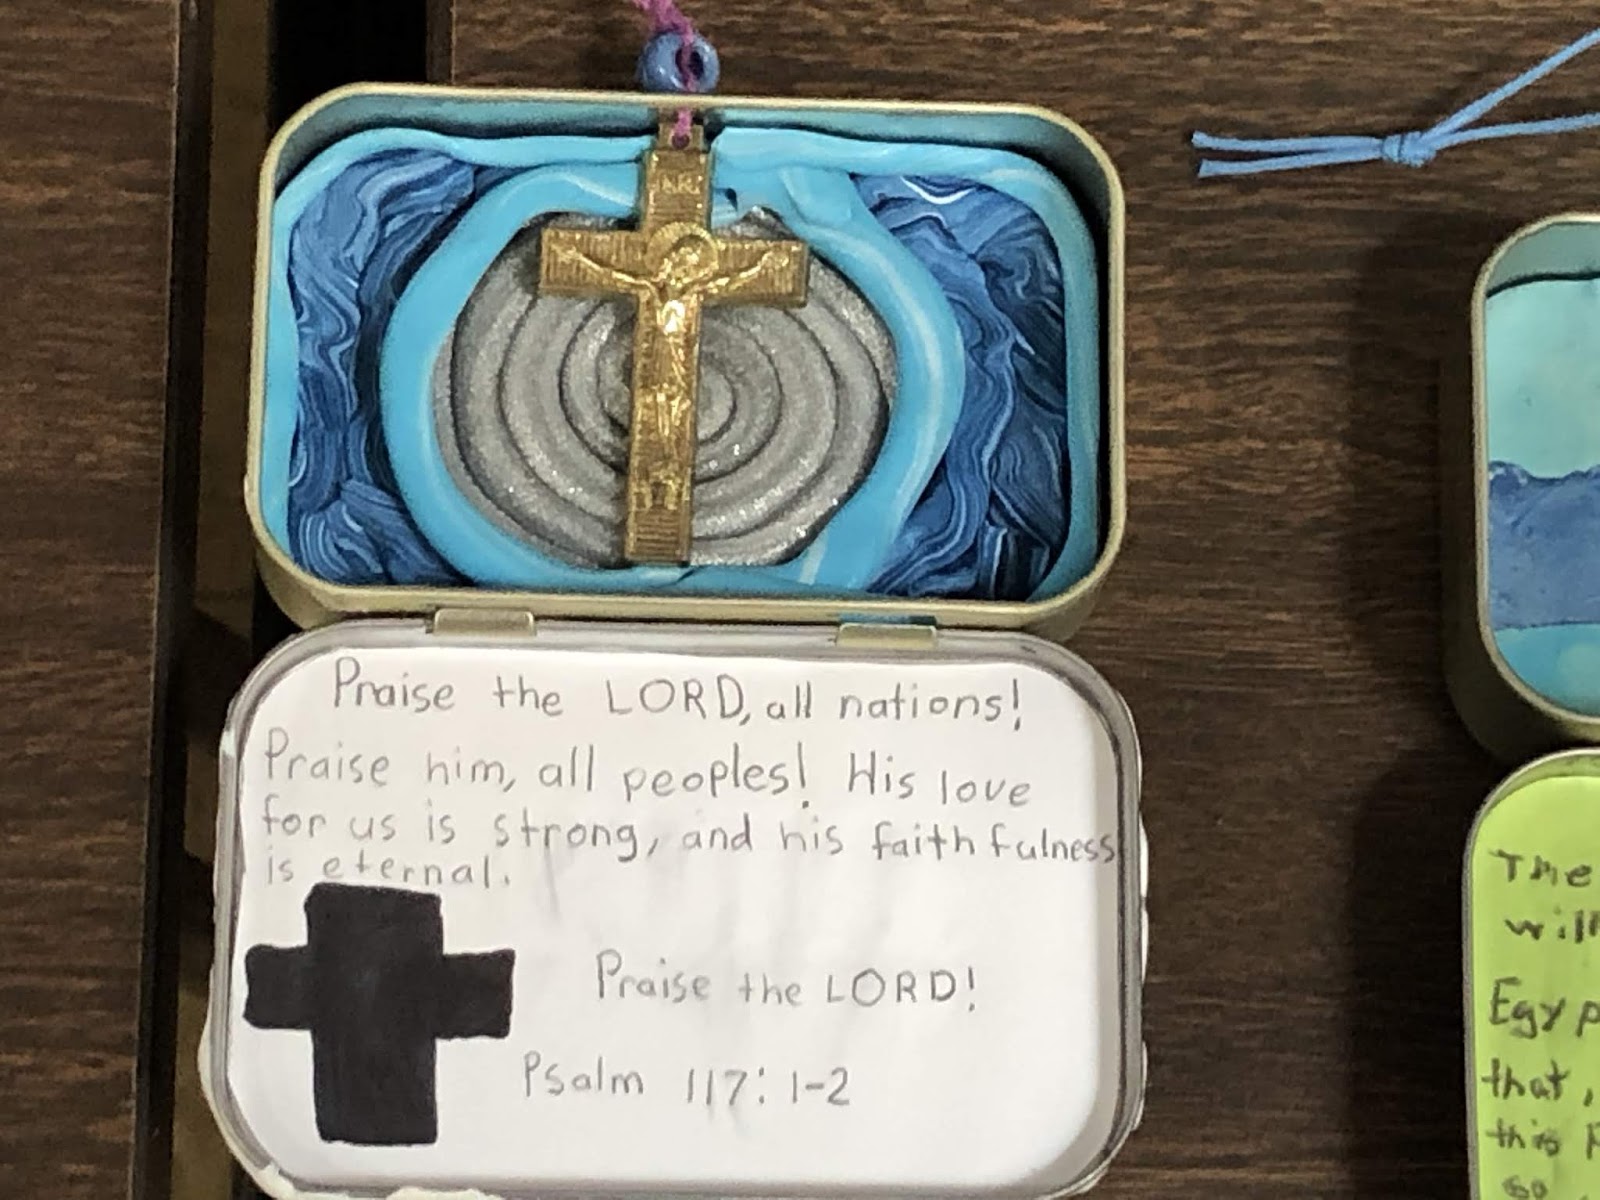
  2nd grade shrink plastic rosary
 1st grade Alphabet
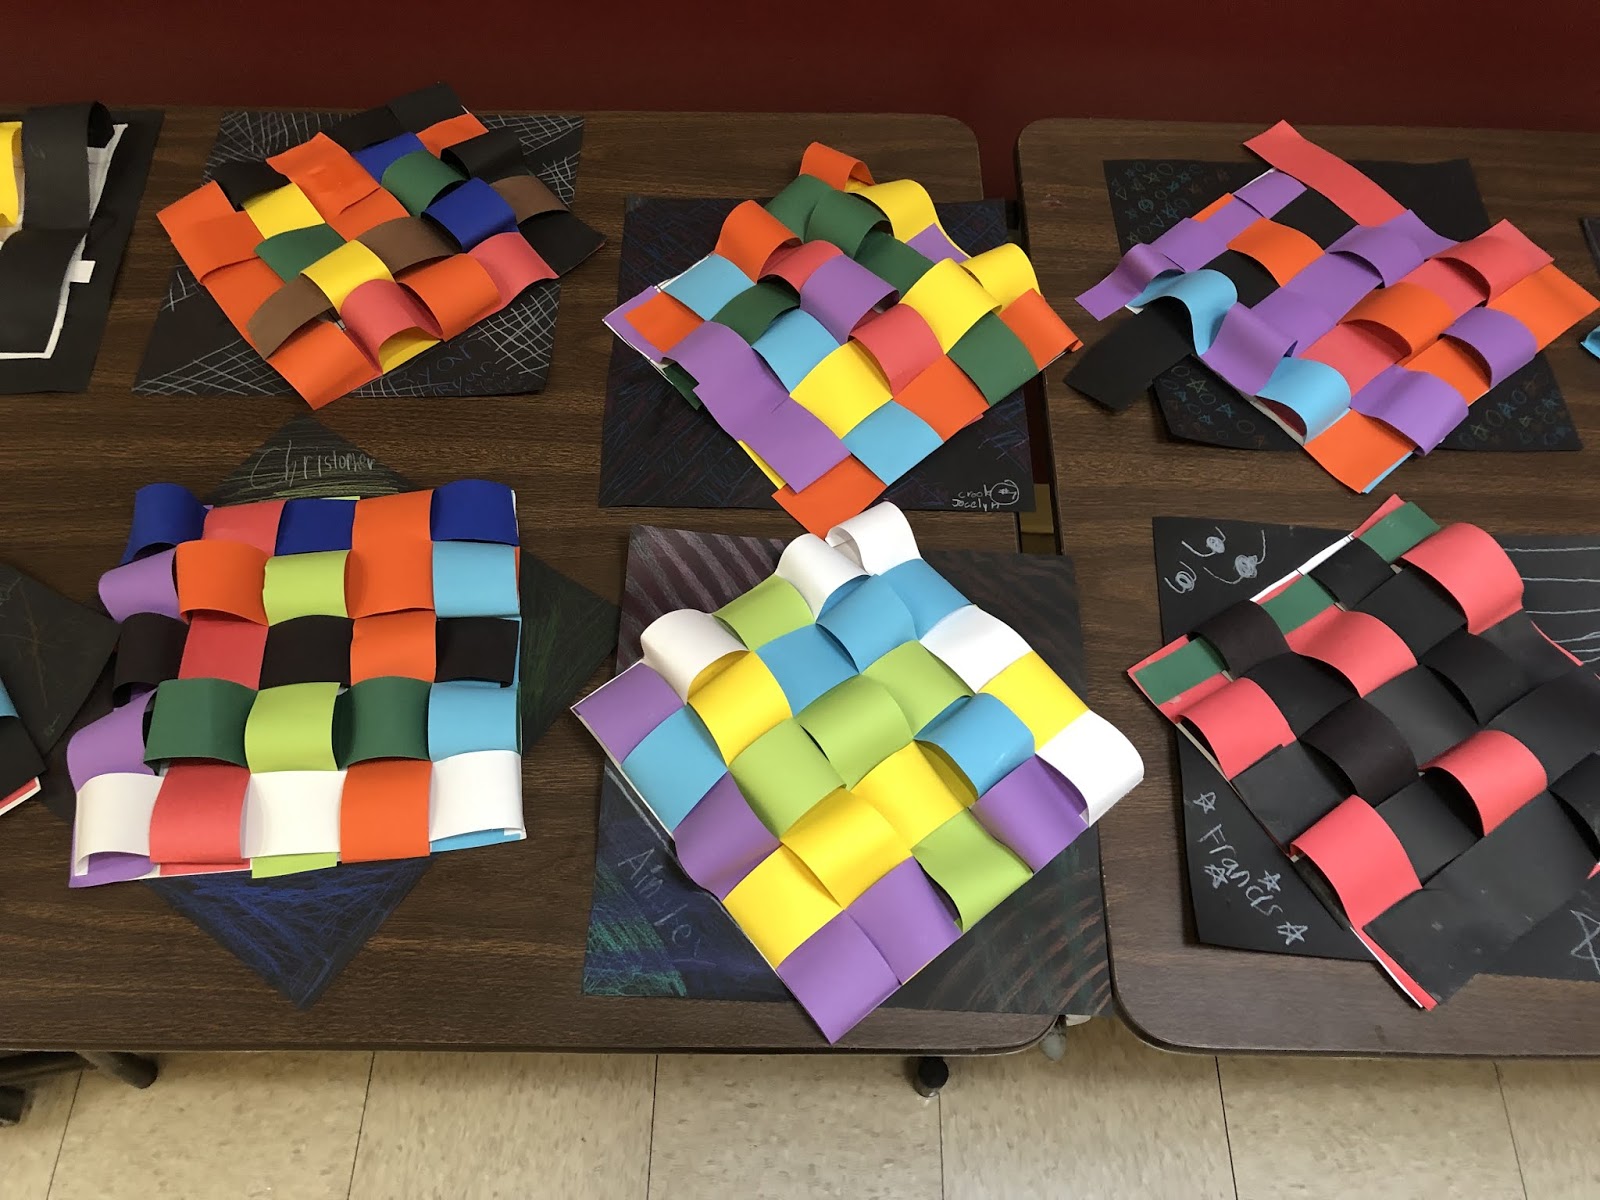
 4th grade patterned weaving
 7th grade organic -vs- geometric lamp
 3rd grade flag
 6th grade Unique personalities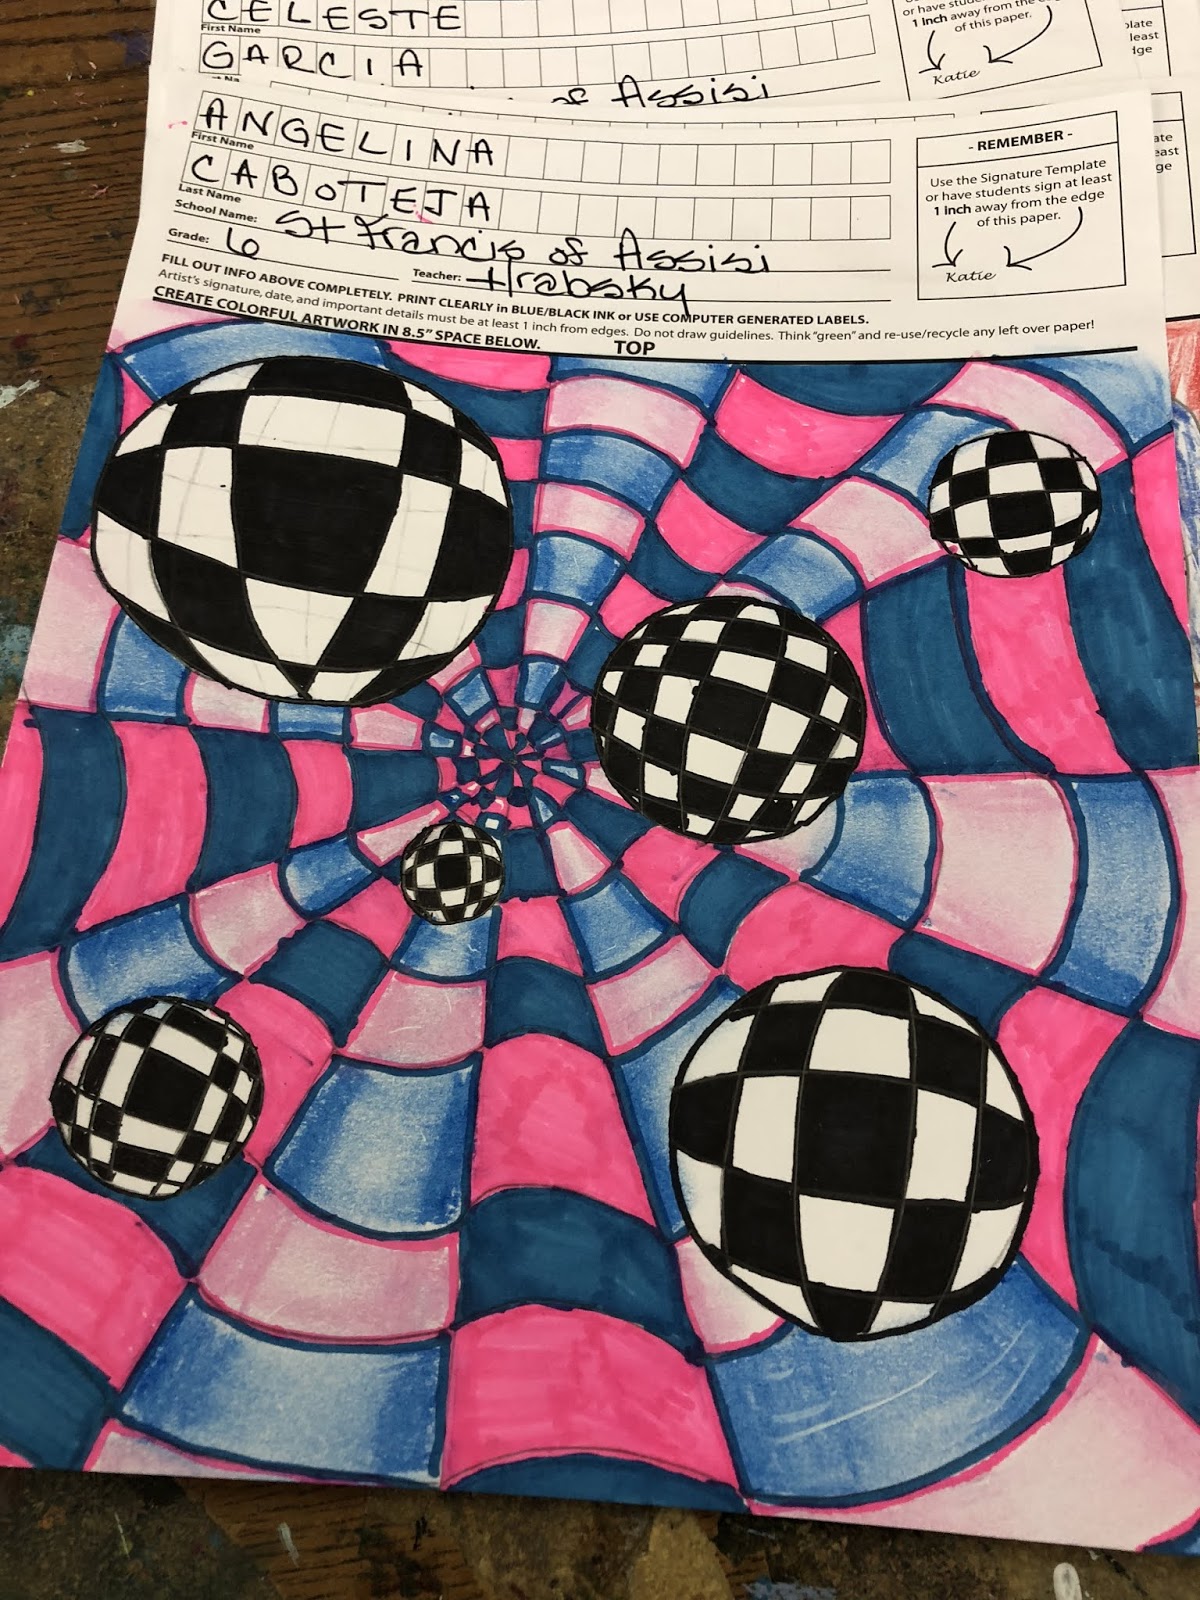




 Charley Harper
 Lois Malou Jones
 Grant Wood (American Gothic)
  Diego Rivera
 another American Gothic
 Andy Warhol


